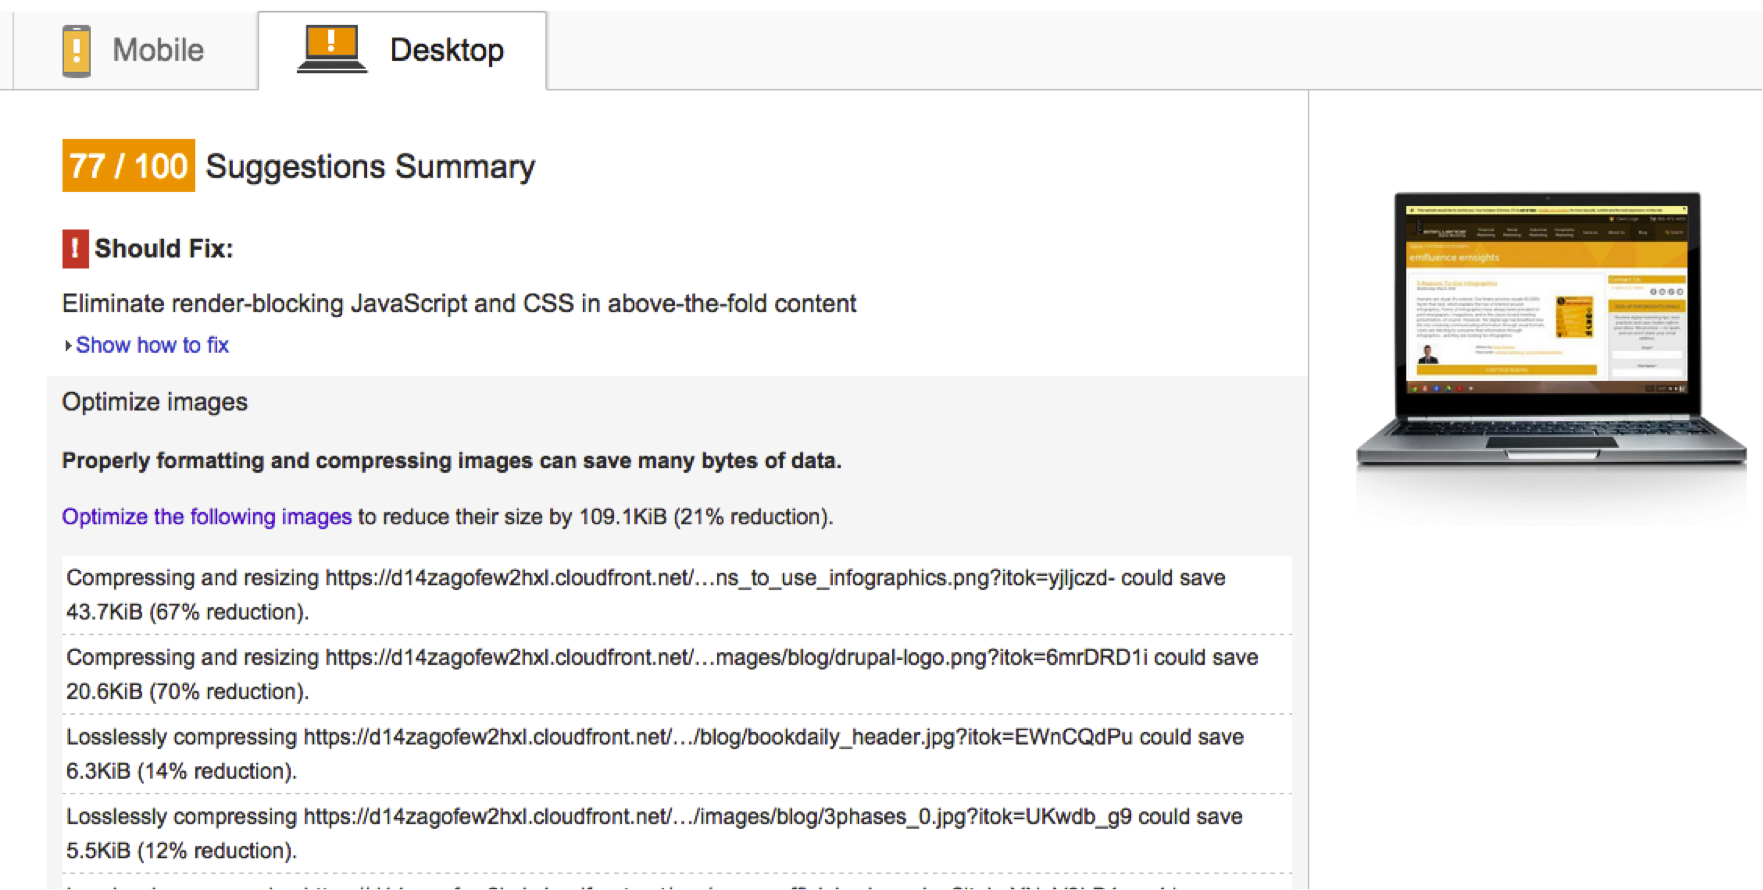
We’re all about improvement here at emfluence. Anything we can track, improve, and celebrate gets us a little giddy. Things we can track, but cannot improve, not so much… So, when I updated the look of the emfluence blog recently with some small tweaks, I thought it would be a good time to verify that what I had done helped performance (or at least didn’t hurt it). Enter Google’s PageSpeed Insights.
Like that friend of yours who knows everything, PageSpeed Insights gently reminds you that you really could do better. Honestly, PageSpeed can be a bit of a hypocrite, since Google causes some of the issues (I am looking at you “https://stats.g.doubleclick.net/dc.js” – 2 hours!). But in the end, if we follow PageSpeed’s advice, the quality of our work improves.

So, when I saw potentially un-optimized images, I set about finding out what was doing it. Moving through the list, I kept noticing that it wasn’t the theme images causing the problem — the development team’s code was minified; the images were optimized; the shell was gold. The issue was the authors’ images! I brought the issue up with my team for a bit of debate. We asked some of these questions:
Can we realistically solve the problem with code?
Most of us agreed that it could be done. How it could be done was a little more interesting. Ideas included forcing uploads to be less than some megabyte size, or forcing authors to optimize their own images. Others suggested that we alter the original image during upload, so images created from uploads are automatically optimized. Another suggested that it was unacceptable to change the original image, and only the derived copies should be optimized. And then we got around to a more important question:
Should we solve the problem?
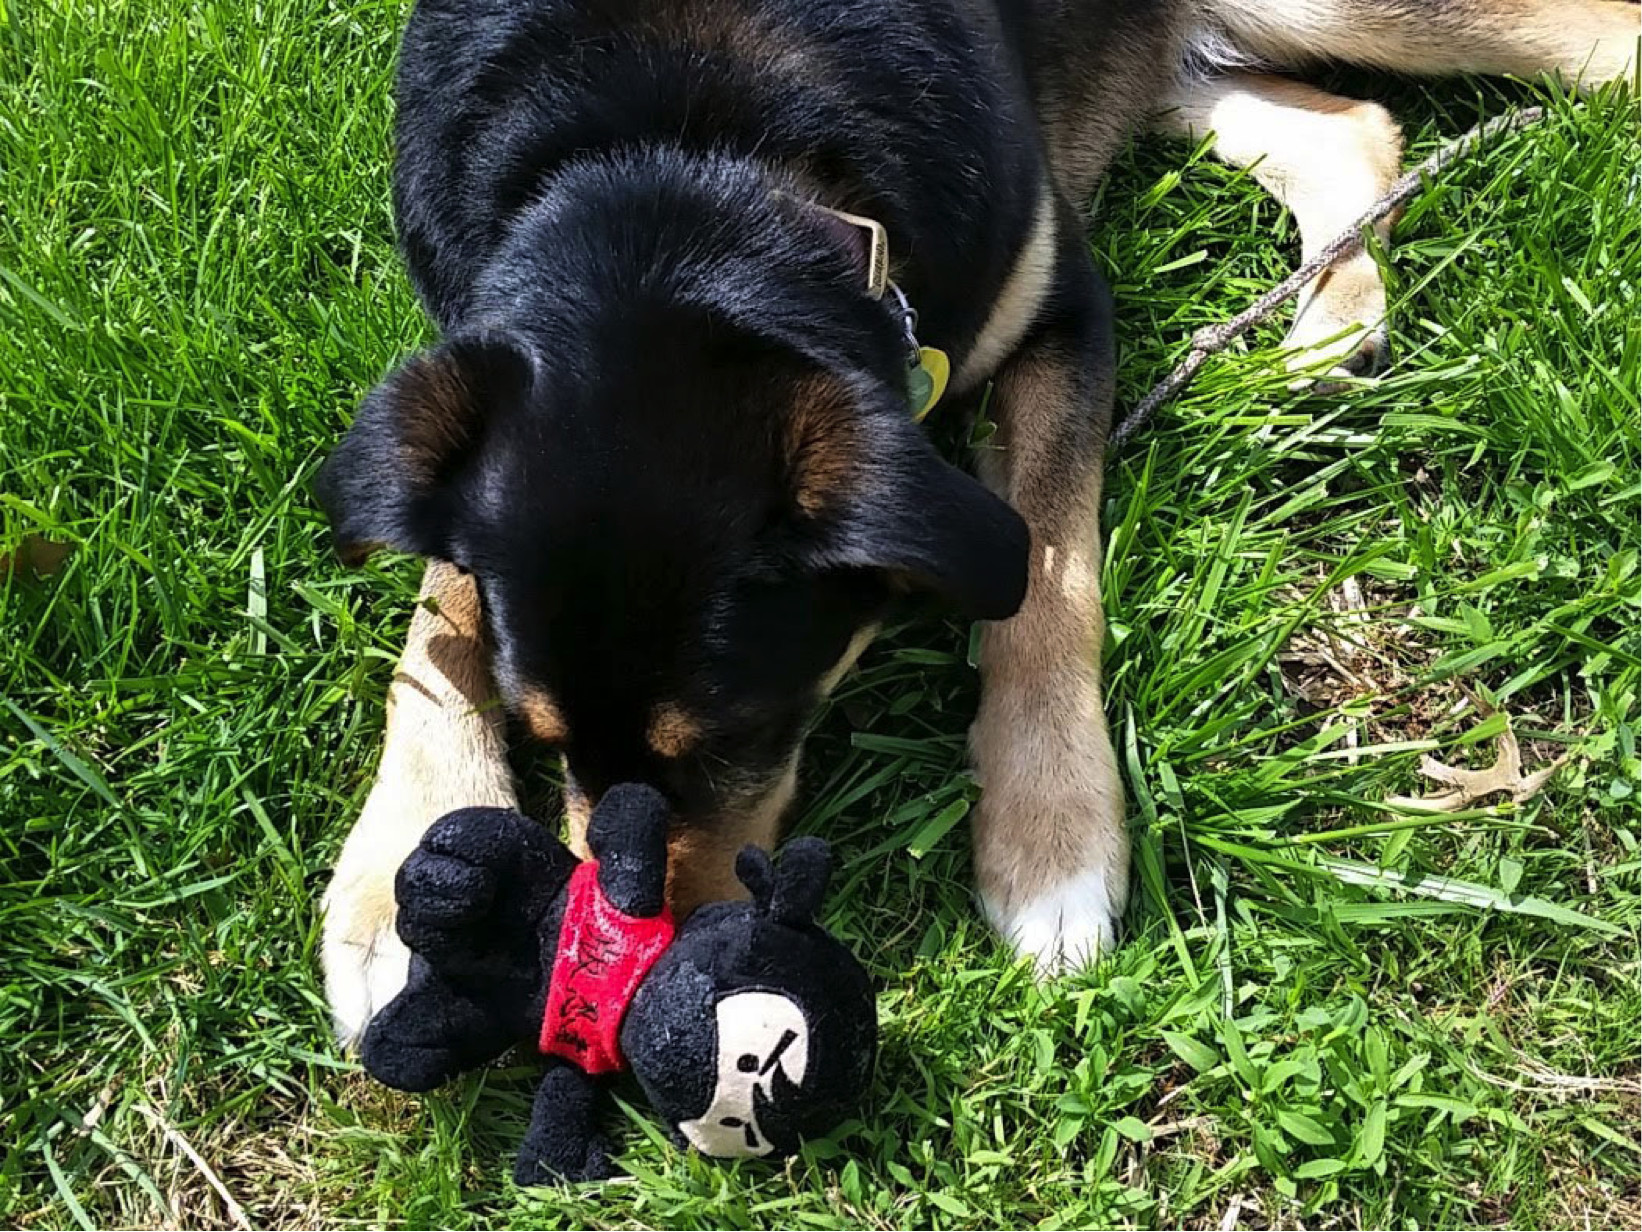
Let’s be clear. Image optimization is not a one size fits all process. Sure, you can apply lossless compression (and we’ll touch on that in a bit), but what if loss is perfectly acceptable or even preferable? Let’s take a look at an image I’m rather fond of, my puppy:

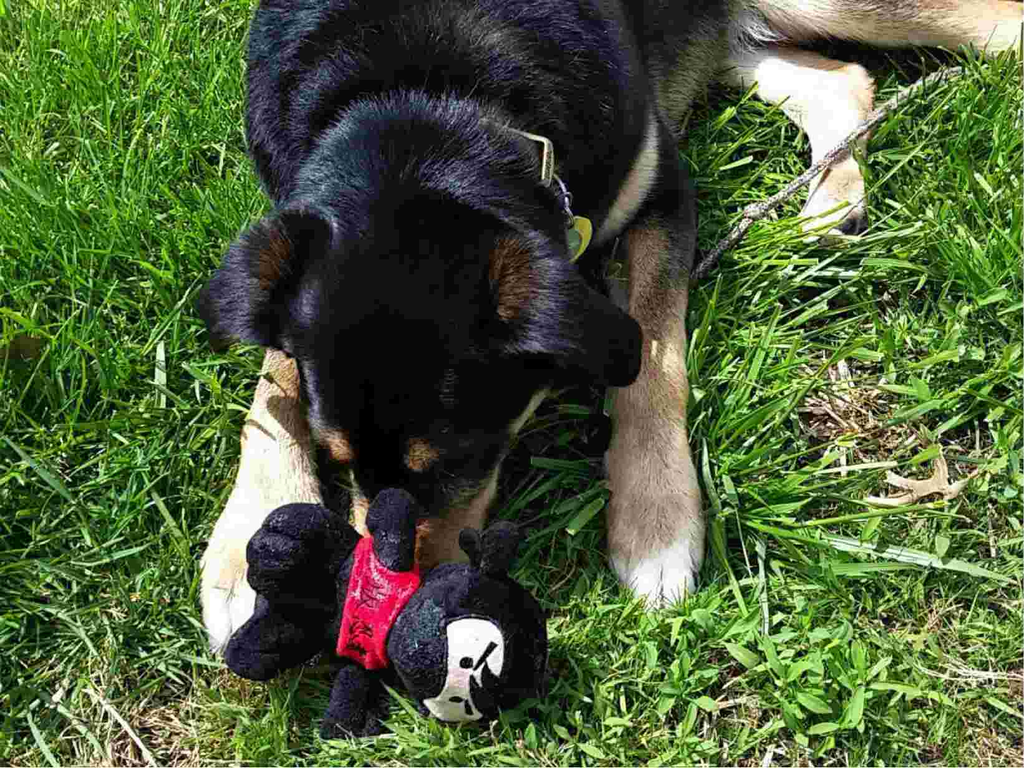
This image is from the Save for Web function of Photoshop, on high (60) as a JPG. It’s 375KB. For comparison, I saved it as a PNG-24 (1.8MB) and a PNG-8 (501KB) just to test sizes. But the quality here is perhaps better than we really require. Let’s take the same image and reduce the quality dramatically to 10 (low):

The image now weighs in at 135K instead of 375KB. Can you tell the difference? Is it enough to justify the file size difference if you have 20 of these images on a page? Personally, I don’t think it is. But as the author, that’s my choice to make and my responsibility. We should always encourage our authors to optimize their own images, giving them the ultimate creative control. Lossy compression is good, but only if the author is ok with the result.
The Middleground – Automatic Lossless Compression of Assets
If we accept that we simply cannot unilaterally degrade image quality, we can at a minimum control minor optimizations. At the very least, nearly all images contain metadata that can be stripped. Other images can be visibly lossless, anywhere from 30-70%. Those are the targets we’re after! Here are some options discovered during research on how to setup our own clients to squeeze out a little performance gain.
Automatic Magic – Mod Pagespeed
Google produced a module which you can integrate with Nginx and Apache to automatically handle basic optimizations for you: Mod_Pagespeed. It can do loads of things to improve your performance: images, css and js minification, and more. It is a nice toy that can net improvements around the 20%ish range. However, it comes with a potentially significant downside.
PageSpeed is a Just In Time (JIT) system. As such, your server will spend additional overhead processing. Sure, it caches its work, but caches cost management time. Anytime you run a JIT system, you are going to pay something for it, forever. If you have the spare processor cycles, great. But keep a close eye on the effect it has on you during traffic spikes and cache maintenance.
One Time Processing
Personally, I prefer to have one-time costs, even if those costs are high. Along that line, I went looking for solutions to major frameworks our customers use that could perform that one-time optimization.
Drupal
ImageAPI Optimize
It’s fairly common for there to be only one or two solutions for any issue in Drupal. The community is generally collaborative like that. In this case, ImageAPI Optimize appears to best and perhaps only solid solution. After installation, you will be given options to integrate with third party providers, or use your own local Linux binaries. Configure your settings and all the image styles going forward will be optimized. Your existing image styles will be flushed with the change to settings, but you should verify that the image style folder has been emptied.
WordPress
EWWW Image Optimizer & Compress JPEG & PNG images
Both of these modules provide the same sort of functionality. EWWW appears to be far the more popular, but after some testing I think I come down on the side of TinyPNG’s Compress JPG & PNG images plugin. Here’s the results I found:
Using two images – unoptimized:02-x264 unoptimized.png – 259KB PastoraCoffeeCrops-1024×576.jpg – 176KB |
Using EWWW Image Optimizer and local Linux binaries:02-x264 optimized-by-eww.png – 241KB PastoraCoffeeCrops-1024×576-by-eww.jpg – 165KB |
Using https://tinypng.com/panda!02-x264 unoptimized-by-panda.png – 96KB PastoraCoffeeCrops-1024×576-by-panda.jpg – 140KB |
Using TinyPNG’s WordPress plugin (Allows up to 500 free optimizations per month, each size counting separately):02-x264-unoptimized-wp-tinypng.png – 96KB PastoraCoffeeCrops-1024×5761-wp-tinypng.jpg – 240KB – What happened here?! |
When it came to PNG’s, Tiny’s functionality killed EWWW. But the red bit, that confused me. I’m not really sure how the JPG nearly doubled in size… I have a tweet out to the TinyPNG team to look into it. (Update, I’ve worked with support, and details are at the end of the post!)
Note that the TinyPNG system requires you to use their API key. You’re limited to 500 compressions a month for free. Each time you compress an original, you might get multiple sizes – thumbnail, small, large, etc. – and these all count against your initial 500. You can burn through 500 calls with 100 images pretty easily. Just be careful, or pay for the service if it’s worth it to you. If not, use EWWW!
Magento
Image Optimizer, Compress JPEG & PNG Images (TinyPNG)
I really wanted to avoid relying too much on TinyPNG again here. But it seems like we may not have a choice. As noted by Image Optimizer page, it’s really just a focused subset of GTSpeed. So testing it means testing two of the most popular solutions. I found one critical flaw in Image Optimizer, and many other popular Magento extensions for image optimization. They all optimize the image after time has passed, through cron jobs. If you’re working with a CDN of any sort, the original unoptimized version is already out there, perhaps forever. Useless!
So we’re back to TinyPNG’s product again. The results I saw were similar to the previous test. Numbers are slightly different, as the images produced were sized, then compressed:
Unoptimized02-x264_unoptimized_M-without.png – 180KB pastoracoffeecrops-1024×576-M-without.jpg – 41KB |
Optimized02-x264_unoptimized_M-with.png – 53KB pastoracoffeecrops-1024x576_M-with.jpg – 57KB (Again, not sure what happened here) |
TinyPNG & JPG’s
I’ve been working with TinyPNG for about two weeks now documenting issues, sending screenshots, etc. The folks at TinyPNG traced what they think is the problem in WordPress:
“There are a few things at play here. First of all, WordPress creates an additional image, with the same size as the original. This is the Large size you have configured in your screenshot, as the width of the image is also 1024 pixels.
Normally (when you disable the plugin) this Large image is slightly smaller than the original image, as WordPress compresses the resized image by default. When enabling the plugin, we disable the default WordPress compression, as we expect the images will be compressed using TinyPNG later. We do this, because compressing an image multiple times can lead to a visible degrade in quality. When you configure these sizes not to be compressed, however, this does not re-enable the default WordPress compression, as this normally done at the resizing step.
The simplest solution for now is to also enable TinyPNG for your Large image size, however this does cost an extra compression per image you process. This will compress the Large image as well, resulting in a 140 KB image. In the future, we may be able to develop another solution for this.”
And for Magento, they had this to say:
“”I experimented a bit with the Magento plugin and the issue seems to be similar here. When using the plugin, the images are not compressed by Magento when creating the different sizes. When disabling TinyPNG compression for these, they can also increase in size. The same solution will also work here. Enabling the image size in the plugin configuration will compress the image to 142KB, which is correct.”
I’m not entirely certain that’s the issue, as I found similar results in Magento (see above). But, if their team is working on a solution, it may solve the issue for both WordPress and Magento.
Feedback
What techniques are does your development team use to solve this problem? I know I’ve only just scratched the surface with options. Leave comments and ideas in the comments below!
[more]


